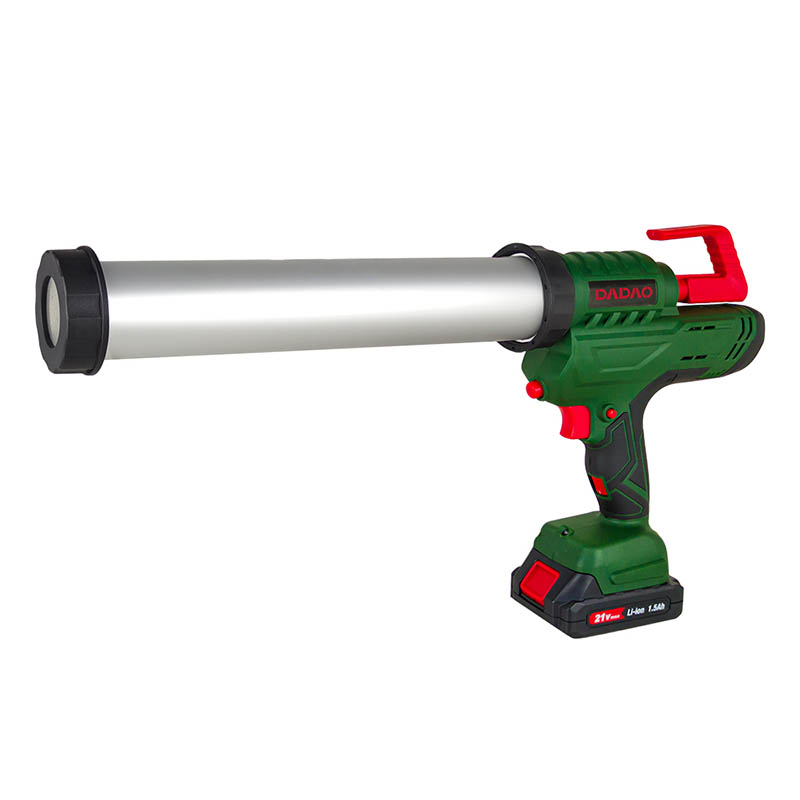
How do you use a caulking gun for beginners?
2024-01-16
Using a caulking gun for the first time may seem a bit intimidating, but with the right steps, it can be a straightforward process. Here's a step-by-step guide on how to use a caulking gun for beginners:

Materials Needed:
- Caulking gun
- Caulk or sealant
- Utility knife or scissors
- Rag or paper towels
Steps:
1. Prepare the Surface:
- Ensure that the surface you are caulking is clean, dry, and free of dust or debris. Remove any old caulk using a utility knife or caulk remover if necessary.
2. Choose the Right Caulk:
- Select the appropriate caulk or sealant for your specific project. Different formulations are available for various purposes, such as kitchen and bath, window and door, or general-purpose caulks.
3. Cut the Caulk Tube:
- Using a utility knife or scissors, cut the tip of the caulk tube at a 45-degree angle. Cut the tip to the desired size based on the width of the joint or gap you are caulking. Smaller openings allow for more precise application.
4. Puncture the Seal:
- Locate the small seal inside the caulk tube's nozzle. Use a long nail, wire, or the built-in puncture tool on the caulking gun to break the seal. This allows the caulk to flow.
5. Load the Caulk Gun:
- Open the caulking gun by pulling back the rod. Insert the caulk tube into the gun with the cut tip facing forward. Ensure that the notched end of the rod engages with the notches on the caulk tube.
6. Secure the Tube:
- Push the rod forward until it contacts the bottom of the caulk tube. Some caulking guns have a built-in cutter for trimming the tip of the caulk tube for a clean start.
7. Test the Flow:
- Squeeze the trigger gently to test the flow of caulk. This helps ensure that the caulk is ready to be applied and that the tube is securely loaded.
8. Begin Caulking:
- Hold the caulking gun at a 45-degree angle to the joint or gap you are caulking. Position the nozzle close to the surface.
- Apply steady pressure on the trigger while moving the gun along the joint. The caulk should flow smoothly from the nozzle.
9. Maintain Consistent Speed:
- Maintain a consistent speed and pressure on the trigger to achieve an even and smooth bead of caulk. Release the trigger at the end of each stroke to stop the flow.
10. Smooth the Caulk:
- Use a caulk smoothing tool or a moistened finger to smooth the caulk immediately after application. This helps create a neat and professional finish.
11. Clean Up:
- Wipe off any excess caulk from the surface and the nozzle using a rag or paper towels. Some caulks can be cleaned with water, while others may require solvents.
12. Close the Caulk Tube:
- Release the pressure on the caulking gun by pulling back the rod slightly. Remove the caulk tube from the gun and replace the cap on the caulk tube for storage.
Following these steps will help you use a caulking gun effectively, even if you are a beginner. With practice, you'll become more comfortable and achieve professional-looking results.


