

GALVANIZE Manufacturer Selection Tips for Durable Metal Finishing
2026-11-18
Choosing a galvanize line that holds up isn’t just about coating thickness—it’s about knowing which supplier questions separate reliable metal finishing from costly rework. From bath chemistry to roll alignment, small selection mistakes show up later as uneven zinc layers or premature corrosion. If you’re tired of sorting through generic spec sheets, the practical checks below will help you spot durable systems before purchase. For equipment built around long-term finish consistency, take a closer look at LANYUN and see how design details affect your final surface quality.
Match Coating Thickness to the Real Exposure
Spec sheets often treat coating thickness as a single number pulled from a corrosion class, but real exposure is rarely that uniform. The face of a structure that catches prevailing wind, the sheltered underside where moisture lingers, and the splash zone around fasteners all age differently even though they carry the same nominal DFT. Matching thickness to exposure starts with mapping those micro-environments before painting, not after the first rust staining appears.
On a coastal handrail or cable tray, the general surface may survive with the standard system, while weld collars, cut edges, and water-holding details fail early because salt-laden water sits there after rain. On those zones, raising the local dry film thickness or adding one extra coat from the same system makes better use of the maintenance budget than forcing a uniform heavy build across everything.
Dry film thickness makes more sense when treated as a distribution than as a pass/fail average. Reference readings taken in high-wear or high-deposit locations show how quickly the coating dulls, chalks, or develops pinpoint rust. Those small failures are the clearest signal that the local exposure is more aggressive than the specification assumed, and they give the next touch-up cycle a measurable target.
Ask for Recent Batch Test Reports, Not Stated Capabilities
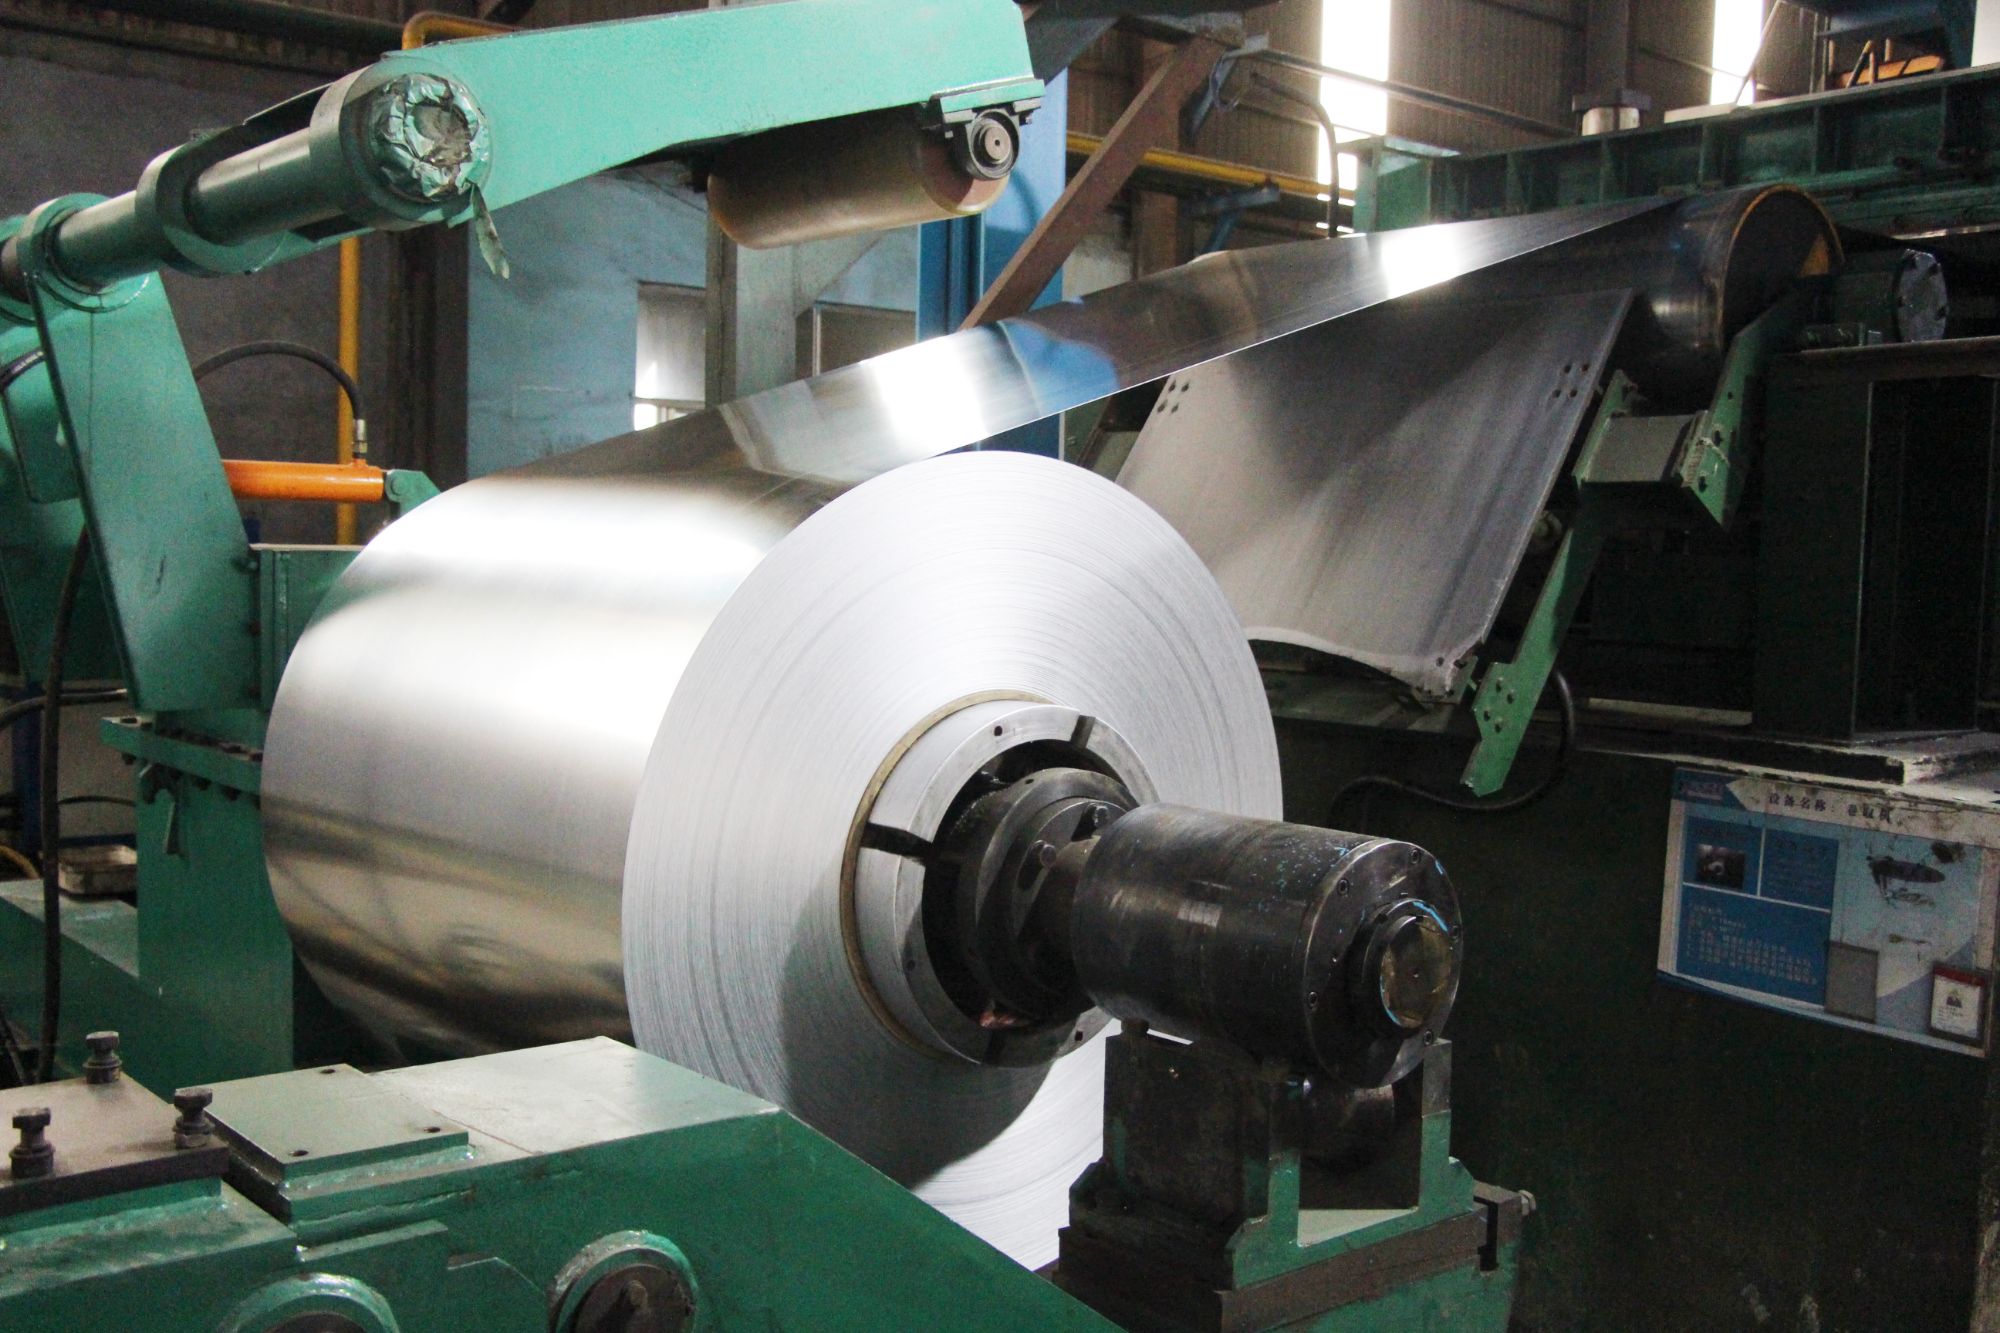
A capabilities statement tells you what a supplier hopes to do. A batch test report tells you what they actually did. When you ask for recent reports, pay attention to the dates, the lot numbers, and whether the results line up with the specs you were handed earlier. Vague references to "ISO-compliant processes" rarely hold up when the last ten batches show drifting viscosity or a jump in dimensional outliers.
Request reports from the last three to five production runs, not just a single favorable sample. Look for raw data instead of summaries. Real reports include failed measurements, retests, and notes from the lab, and those imperfections are exactly what make them useful. If a supplier sends a clean one-page certificate with no traceable lot numbers, treat it as a marketing sheet rather than evidence.
The goal is not to trap anyone. It is to see whether their routine output matches the claims on their data sheet. Recent batch data exposes shifts in raw material sources, operator habits, and instrument calibration before they turn into your problem. That matters far more than a list of stated capabilities.
Tour the Pre-Treatment Area Before Signing Anything
Walking into the clinic with your own eyes beats any polished brochure. Ask to see the pre-treatment rooms where instruments are prepared and patients wait immediately before a procedure. Notice whether surfaces look wiped down, whether single-use items are actually sealed, and whether staff move through the space with a routine that feels calm rather than rushed. These details rarely make it into online galleries, but they tell you how seriously the place treats infection control and patient safety.
It is also the moment to ask practical questions without feeling awkward. Watch how the team handles linens, sharps containers, and labeling of any personalized products or devices. If a staff member waves off your request or keeps you in the lobby, treat that hesitation as information. A transparent practice usually has no problem letting you see where you will be prepped, even if access requires a quick chaperone or shoe covers.
Finally, compare what you see with what the consent form implies. The paperwork may mention standards, monitoring equipment, or recovery protocols that should match the physical space in front of you. If the room feels cramped, cluttered, or missing basic emergency supplies, signing on the spot is not worth the pressure. A short walk through the pre-treatment area can save you from discovering problems after the service has already begun.
Confirm Drainage and Venting for Hollow Fabrications
Before any hollow fabrication is dipped, sealed end plates and blind box sections should be checked for a clear path that lets air escape and molten zinc enter. A closed cavity holds moisture and trapped gas, and once the part heats up that pressure can tear a weld open or force liquid metal out of the tank. The practical fix is to locate drain openings at the lowest point of the hung part and vent openings at the highest point, keeping them large enough for the internal volume and wall thickness.
Where internal stiffeners, gussets, or baffles divide a section into separate compartments, each pocket needs its own inlet and outlet rather than relying on one set of holes. It helps to tilt the fabrication on its lifting fixture and watch where residual liquid would settle, then confirm every low corner has a drain path. Also check that temporary lugs, chaining points, or bracing do not block the openings after the rigging is attached. A dry interior and an unobstructed vent at the top both reduce the chance of a pressure blowout during immersion.
Compare Total Delivered Cost for Your Typical Part Mix
Unit price is a starting point, not a verdict. Once you add inbound freight, packaging differences, tariffs, brokerage, and the inventory you have to hold, the ranking of suppliers can shift more than most teams expect. Comparing total delivered cost for your typical part mix means grouping parts by size, weight, order frequency, and annual volume instead of treating every line item the same way.
A dense, high-volume bracket and a bulky, low-run housing rarely have the same cost drivers. One may be freight-dominated, the other driven by tooling amortization or minimum order charges. Building a simple comparison around representative parts from each family gives you a clearer view of where the hidden costs actually sit.
The result is not a single global answer. It is a sharper set of trade-offs: a nearby supplier may quote more per piece but cut freight and lead time enough to win on total cost, while a distant source may only make sense at volumes you can plan six months out. Knowing that before you commit is the real value.
Insist on a First-Article Approval Run
First article approval runs often get treated as a paperwork stop before production starts. That mindset is exactly what turns small setup drift into a full batch of nonconforming parts. Treat that first run as a trial under real conditions: run the same equipment, the same operators, the same tightening sequence, and the same measuring tools that will be used for the production lot. If anything is going to shift under load, it should show up here, while you can still adjust without tearing down an entire order.
It also forces a conversation between the people who programmed, set up, and inspected the part before the line gets busy. One walk-through of the first article dimensions against the drawing can reveal things that a printed inspection report misses—like a fixture hiding a datum, or a burr that passes the gauge but will cause assembly trouble later. That kind of catch is cheap when it happens at the bench and expensive when it happens at the customer.
Finally, keep the approved first article as a hard reference instead of relying on someone's memory. Mark it, store it, or photograph it in a way that lets the next shift compare the current output against what was actually accepted. A clear boundary like that makes the approval run mean something beyond the signature on the form, and it gives you a simple way to push back when someone says "that's close enough."
FAQ
Ask to see daily bath analysis logs and how often they skim ash. A plant that checks aluminum content at least once per shift and adjusts for iron buildup tends to produce a smoother, more uniform coating on your parts.
Lower quotes often come from shortcuts in surface preparation, weaker pickling acid, or faster withdrawal speeds. That can leave bare spots or brittle alloy layers that look acceptable for a few months but fail early in outdoor exposure.
Find out whether they spin parts after galvanizing and how they handle threaded areas, because untreated threads can bind. A capable shop will over-cut or mask threads before dipping and use a centrifuge to clear zinc from holes.
Ask about dip angle, immersion speed, and fixture design. Shops that immerse long sections at a steep angle and control the temperature difference between steel and zinc are far less likely to twist or bow your material.
Look for clean racking, consistent fume capture, and workers checking temperature while regularly skimming dross. If the area around the kettle is chaotic or heavily built up with ash, it often reflects the same level of care your parts will receive.
Request a minimum average coating thickness based on steel thickness, often around 85 microns for heavier structural sections. If the galvanizer can't explain how they verify that on your actual parts, treat that as a red flag.
Ask for a close look at their pickling and fluxing steps. Clean acid baths, proper rinse tanks, and a hot flux solution give the zinc a chemically clean surface, which is what prevents peeling and flaking once the parts are under stress.
Look for actual thickness readings from a calibrated gauge and a clear repair procedure for any bare or damaged areas. A shop that provides both is more likely to stand behind the coating instead of blaming handling after the parts leave.
Conclusion
A dependable galvanizing partner is rarely identified through a polished brochure or a generic list of in-house capabilities. Start by matching the proposed zinc coating thickness to the actual exposure the finished parts will face, because a light commercial coating can fail early in a coastal or industrial setting while a heavier specification may add unnecessary cost in a mild interior environment. Request recent batch test reports from production runs that closely resemble your own part mix and ask how those results were measured; stated capabilities mean little without evidence from real batches. Before any contract is signed, walk the pre-treatment area and watch how parts are cleaned, rinsed, and handled. Weak degreasing or rinse practices at this stage will undermine the zinc bond even when the galvanizing bath itself is well maintained.
Hollow fabrications deserve extra scrutiny before they ever reach the kettle, since poorly placed drainage and venting holes can trap air, create dangerous steam pockets, or leave bare patches inside the finished part. Ask the manufacturer to review your drawings and confirm hole sizes and positions for each configuration in a typical part mix. Cost comparisons should also move beyond a simple per-kilogram or per-part quote; include freight, fixturing, touch-up work, and the likely rejection rate for mixed geometries. Once the practical details look right, insist on a first-article approval run and inspect the sample under your own lighting and measurement tools. That single step often exposes inconsistent coverage or rough drainage areas before they become a problem across an entire production order.
Contact Us
Contact Person: Nia
Email: [email protected]
Tel/WhatsApp: +86 18954360337
Website: https://www.sdppgi.com