

China Sandpaper Buying Guide for Woodworking and Metal Finishing
2026-09-04
Most sandpaper buying guides read like a spec sheet you'd rather skip. Here, we'll focus on what actually matters when you're sanding oak one day and stainless steel the next. We asked the team at SHENZHEN SUN ABRASIVES to break down the choices that affect your results—so you can spend less time guessing and more time finishing.
Matching Grit to the Job Without Over-Sanding
Choosing the right grit isn’t about following a universal chart—it’s about reading the surface in front of you. Start by asking what the wood or finish actually needs: are you removing old paint, leveling a patch, or just scuffing between coats? For heavy stock removal, 60 or 80 grit makes sense. For smoothing out 120-grit scratches before finishing, 150 or 180 is often plenty. The moment you grab a coarse disc “just to be safe,” you risk cutting through veneers, softening crisp edges, and creating deep scratches that take twice as long to remove.
Let the job set the ceiling, not your habits. If a coat of primer only needs a light key, 220 or 240 grit on a sanding sponge will do more good than 120 on a random orbit sander. Check your progress after a few passes—if the surface feels uniform and the previous grit’s marks are gone, stop. Over-sanding doesn’t make the finish stick better; it just thins the material and rounds over details. Matching the grit to the task means knowing when to step down, when to switch to hand sanding, and when to leave the surface alone.
Backing Choices That Prevent Tearing on Sharp Edges
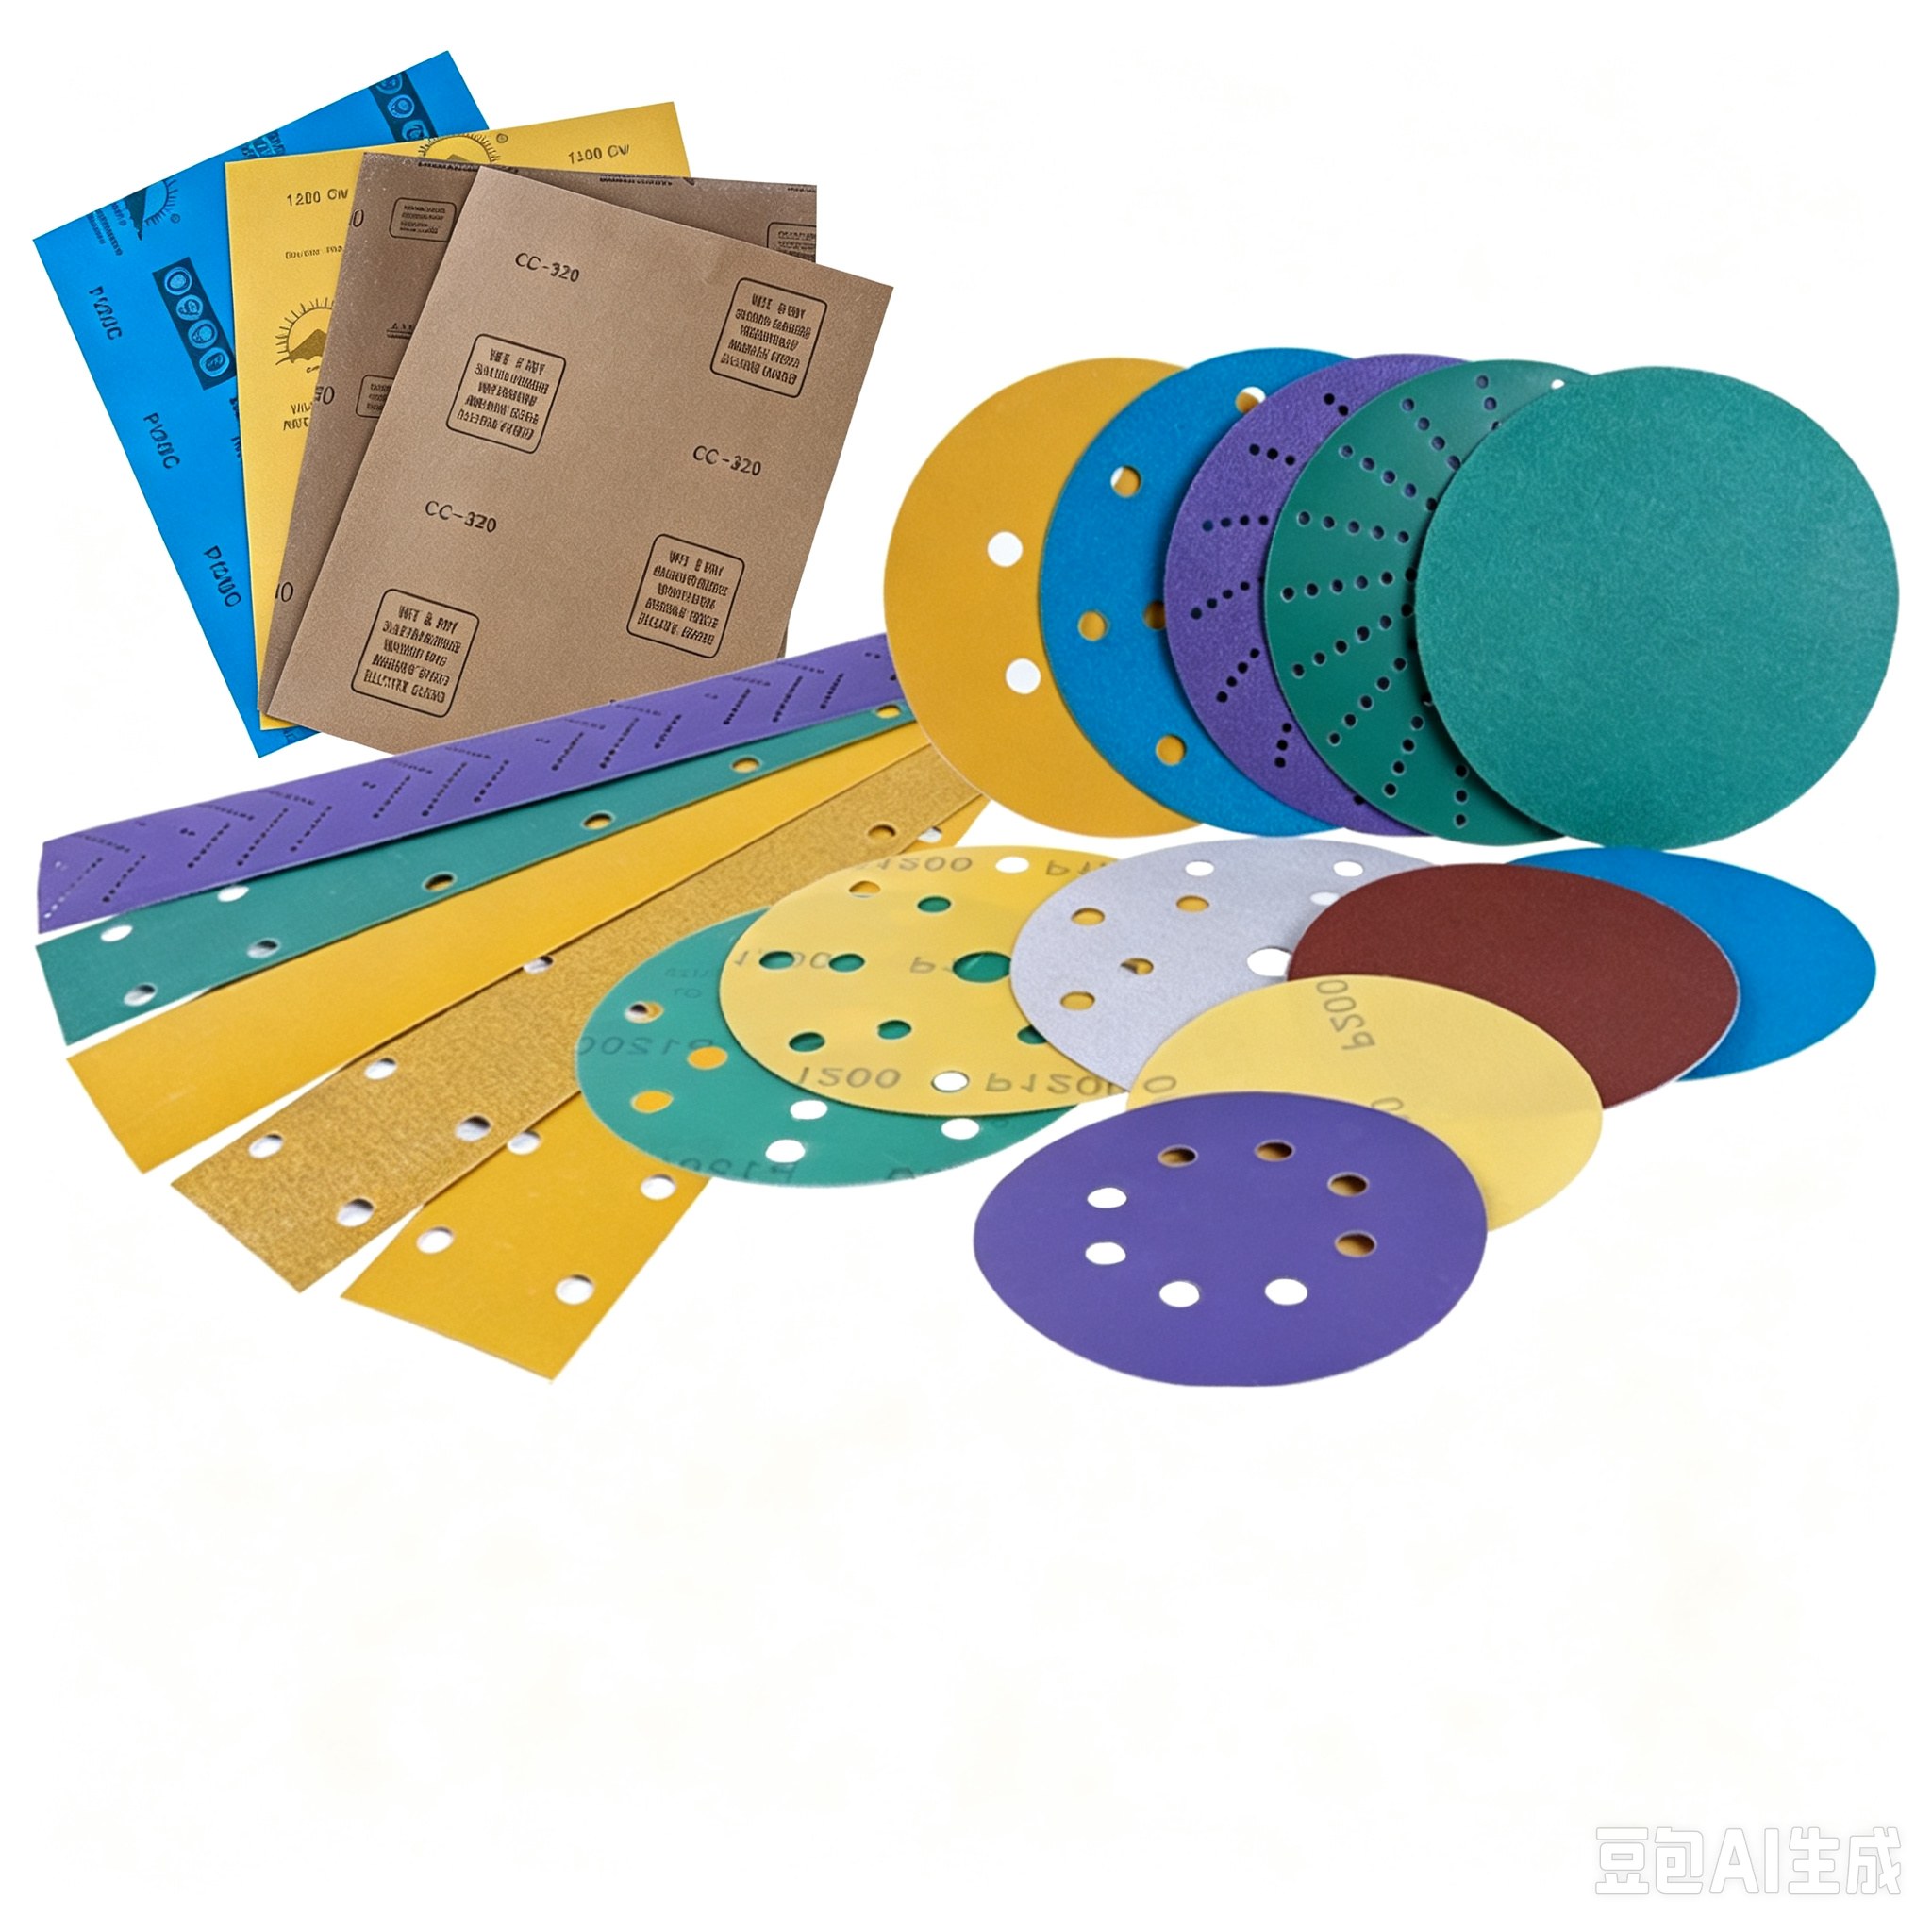
Polyester film is the default for many applications because it combines high tensile strength with decent puncture resistance, but on a sharp 90-degree edge it can still fail if the film is too thick or too brittle. The trick is to avoid confusing thickness with toughness. A thinner polyester backing with a high tensile rating usually flexes just enough around an edge to avoid initiating a tear, while a thicker, stiffer film concentrates stress at a single line and rips. For moderate edge radii, high-quality PET works well as long as the adhesive maintains full contact along the corner.
For sharper or more aggressive corners, polyurethane backings often outperform polyester because they stretch slightly under load instead of snapping. That elongation absorbs energy that would otherwise turn into a tear at the stress point. Cloth backings—especially glass cloth or a tight-weave cotton—offer another route: the fabric structure allows tiny independent movements between fibers, so a small nick doesn't immediately propagate across the width. This makes cloth-backed tapes surprisingly durable on rough castings or edges with minor burrs.
UHMW polyethylene is worth considering when the sharp edge is also a sliding or abrasion surface. Its low-friction face lets adjacent parts move without grabbing the backing, while the material itself resists cuts and tears under continuous rubbing. No backing choice works in isolation, though. A high-shear adhesive is just as important, because if the bond fails near the edge, the loose backing will peel and tear regardless of its tear strength. Match the backing to the actual edge radius, the amount of flex during use, and the surface finish—not just the spec sheet thickness.
What the Resin Bond Tells You About Durability
A grinding wheel’s resin bond is where the abuse lands first. Heat, coolant, side pressure—every cut channels stress into that thin layer of polymer holding the grit. If the bond softens at operating temperature, the wheel sheds sharp grains too early and wears unevenly. A harder, heat-stable resin doesn’t just survive longer; it keeps the abrasive exposed at the right height, so the tool keeps cutting instead of glazing over.
You can spot a weak bond by the wear pattern after a few jobs. Edges that round off quickly, brown burn marks on the workpiece, or resin dust that smells sweet and acrid all point to thermal breakdown. The best resin bonds use fillers to buffer heat and reduce flex, which means the wheel holds its form and cuts cooler far past the point where cheaper discs turn to paste.
Durability is not just about hardness, though. A resin bond that’s too rigid will transmit vibration and crack under side load. The useful ones are tuned—stiff enough to retain the grain, resilient enough to absorb shock. That balance is what separates a disc that lasts an afternoon from one that’s still square after weeks of steady use.
Questions to Ask a Chinese Factory Before Ordering
Before you wire a deposit, ask who exactly owns the molds and what happens if the tooling gets damaged during production. Many buyers assume they hold the rights, but some factories quietly claim ownership of any modifications they make—even if you paid for the original tooling. Get a written answer, and ask how they handle tool storage, maintenance logs, and transfer if you ever switch suppliers.
Dig into their material sourcing, not just the final part price. A low quote often means recycled or off-spec resin, thinner gauge steel, or substituted components that look right for the first shipment. Ask for the exact grade and supplier of every raw material, then request purchase records or batch certificates before production begins. If they hesitate or say it's a trade secret, treat that as a red flag.
Finally, ask about their internal defect rate and how they decide what gets shipped. Many factories will repair cosmetic flaws without telling you, or they'll ship marginal pieces hoping you won't notice. Ask to see their QC rejection data for the last three orders similar to yours, and clarify what happens to units that fail inspection—do they get scrapped, reworked, or quietly mixed into a later batch?
Spotting Inconsistent Grit in Bulk Shipments
Bulk grit shipments rarely announce their problems. The first sign of inconsistency is often visual: pockets of fine dust mixed with coarse granules, or a color shift that suggests a different source rock. If the material looks streaky or layered in the truck or rail car, it is worth pausing before unloading. A quick handful spread on white paper can reveal size range variations that the spec sheet will not.
Size distribution is the most common culprit. When grit arrives with a wider spread than usual, blasting or grinding performance suffers. You can check by running a small sample through a set of sieves, but even without lab equipment, a rough feel between fingers can tell you if the fines are excessive. Excessive fines often cling to larger particles, creating clumps that do not break apart easily. That clumping is a telltale sign the shipment was not properly screened or was mixed during loading.
Moisture and contamination hide in the middle of the load. A pile that looks dry on the surface may be damp underneath, causing grit to stick together and clog feed lines. Push a rod or shovel deep into the material and pull out a sample from the core. If it comes out darker, heavier, or forms a ball when squeezed, you have moisture where the supplier said there was none. Compare that core sample to the top layer; the difference often exposes inconsistent quality faster than any certificate of analysis.
Storage Habits That Keep Sheets Flat and Ready
Most wrinkles in bed sheets aren't caused by sleeping—they're set the moment you shove a still-warm bundle onto a closet shelf. Give sheets five minutes to breathe after the dryer stops. Fold them while slightly warm, using long, smooth strokes with your palms instead of sharp creases. A flat fold along existing seams trains the fibers to lie straight, so when you pull a set from the linen closet three weeks later, it already looks ironed.
Stacking matters more than most people think. Heavy blankets piled on top of sheet sets press permanent ridges into the fabric, especially near the folded edges. Store sheets in breathable cotton or muslin bags, or simply place the flattest, heaviest items at the bottom and keep sheet sets on top. If shelf space is tight, roll sheets instead of folding them into squares—a tight roll prevents deep fold lines and takes up less room.
Rotate your sheet sets even if you prefer one favorite. Washing and refolding the same set every week weakens the creases along the same fold lines, making them harder to release later. By cycling through two or three sets, each one gets a rest period where the fibers relax naturally. When you finally pull out a set that's been resting for a month, the fabric will hang smooth and flat on the bed with hardly any coaxing.
FAQ
Focus on abrasive type, backing weight, and the bonding agent. Many local brands offer good value but consistency can vary, so try a small pack first to check clogging resistance and grain adhesion.
Brands like Deerfos, Fandeli, Awuko, and Sunmight often perform reliably for metal work, especially their aluminum oxide and ceramic grit lines. Steer clear of ultra-cheap no-name products that shed abrasive quickly.
Aluminum oxide is tough and long-lasting, ideal for general rust removal and shaping. Silicon carbide is harder but more brittle, cuts faster, and works better on hard metals, non-ferrous alloys, and wet sanding, though it wears out sooner.
Start with 80 or 100 grit to level surfaces, move to 120 or 150 to remove coarse scratches, then finish with 180 or 220 before applying a finish. For clear coats or fine furniture, continue up to 320. Hardwoods scratch more easily than softwoods, so don't skip intermediate grits.
Wet sanding cuts down on dust and heat, making it a good choice for automotive paint and fine metal surfaces, usually with waterproof silicon carbide paper. Dry sanding is faster for rough stock removal and rust cleaning. Keeping a spray bottle handy can extend the life of dry paper significantly.
Check that the backing lies flat, the grit is evenly distributed, and the edges don't tear easily. Fold a corner to see if the bond holds. Whenever possible, buy a sample or small roll and test cutting speed and clogging on your actual workpiece.
Local hardware markets, specialized coated abrasive dealers, and wholesale platforms are the main channels. Contacting manufacturers or regional agents directly can get you custom grits, backings, and sizes, though minimum order quantities usually apply. Online retail works well for smaller mixed packs.
Conclusion
If you're buying sandpaper from China for both wood and metal work, the real decision starts long before you pick a grit number. Over-sanding is a common trap: woodworkers often jump to 320 grit too early and end up with a surface that looks flat but refuses to take stain evenly. Instead, match the grit to the actual scratch depth left by the previous step. Backing choice matters more on sharp edges than most people expect—standard paper will tear within seconds on a steel corner, while a cloth or film backing lets you fold the sheet and keep sanding. The resin bond also tells you how the abrasive will behave under heat. A phenolic bond handles high-speed metal finishing without breaking down as fast, but it can be too hard for soft woods where a urea-formaldehyde bond gives a more forgiving cut.
Before you place a factory order, ask about the aluminum oxide source, the bond type, and whether they run batch-level grit distribution tests. Bulk shipments often hide inconsistent grit—one sheet might be true 120 while the next feels closer to 80—and that shows up as random deep scratches that only appear after staining or clear coating. Check a few random sheets from each carton at a low angle to catch uneven coating. Once the sandpaper arrives, how you store it decides whether it stays usable. Humidity and weight from stacked boxes curl the edges and crack the resin bond, so keep sheets flat in a sealed bag or dry cabinet, not standing on end. These small checks before and after buying make the difference between a reliable supply and a pile of frustration.
Contact Us
Contact Person: Amanda Wang
Email: [email protected]
Tel/WhatsApp: +86-13602569854
Website: https://www.sunabrasives.com.cn